How to Compress Image Files With 6 Easy-to-Follow Guides
Images are essential for websites, documents, and personal collections. However, uncompressed files can lead to large sizes, causing slow loading times, storage issues, and difficulties in sharing them online. This is where image compression comes in. Compressing an image reduces its size without affecting the image quality. Using various techniques, it discards redundant data within the image file. This results in a smaller size that takes up less storage space, loads faster on web pages and is easier to share through email or social media. In this post, we’ll explore various tools and methods available to compress images. This way, you can optimize your digital image without sacrificing the quality you need.
Contents:
Part 1. Why You Should Reduce Image Size
When working on a website that features high-quality images, it’s important to consider its size. Uploading these large images to your site takes a long time for pages to load. Here’s the thing. Slow loading times due to large images can cause visitors to leave the site before they even see your content. This leads to a higher bounce rate, which is a metric that tracks how many visitors leave after only viewing one page. The best course of action to avoid this case is to reduce image size and use JPEG as your format.
Not to mention, decreasing the size of your image is crucial for several reasons. First, smaller file sizes lead to faster loading times. This minimizes wait times and keeps visitors engaged with your site. Additionally, images with reduced sizes save storage space. This is important as digital files accumulate and consume significant storage space. Furthermore, smaller files are a lot easier to share through emails or social media platforms. Often, these platforms have restrictions on file size for uploads or attachments.
Part 2. Compress Image With the Best Online Tool
Compressing images can benefit you in several ways. This includes optimizing website performance, saving storage space, and facilitating easy sharing. Picwand Online Image Compressor is an easy-to-use tool that can help you obtain high-quality compression without exerting effort. This tool is designed to make images smaller without sacrificing quality.
For good measure, Picwand Online Image Compressor can handle various formats. This includes universally used image files like JPEG/JPG, PNG, SVG, WebP, GIF, and more. You know what truly sets it apart? You don’t have to wait and upload a new one, as it can compress 40 images simultaneously. This powerful tool is best for various use cases, such as downsizing Discord emojis, optimizing images for sites, and shrinking pictures for attachment.
Why Choose Picwand Online Image Compressor:
◆ Handles various formats like JPG, PNG, BMP, SVG, WebP, etc.
◆ Uses advanced AI compression algorithms to reduce picture size.
◆ High-speed process, eliminating waiting long to get optimized files.
◆ Compresses up to 40 images at once with a maximum of 5MB each.
Here’s how to compress image with Picwand Online Image Upscaler:
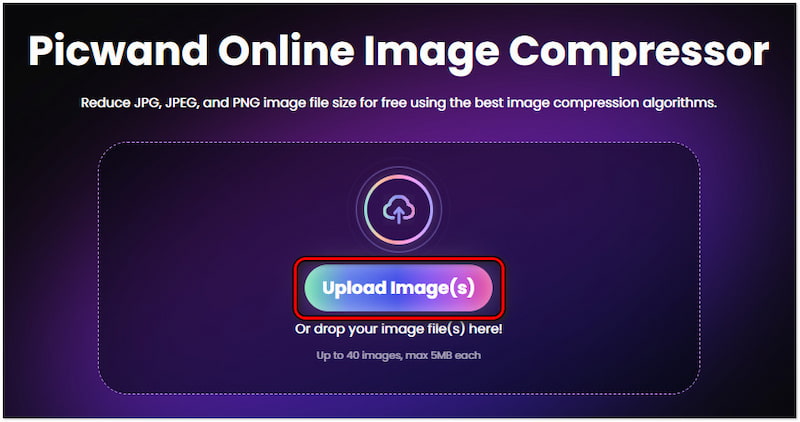
Step 1. Access the Picwand Online Image Compressor by navigating to their website directly.
Step 2. Click the Upload Image(s) button and select the images you want to compress. Alternatively, drag and drop your image files directly to the designated uploading area.
Step 3. After uploading your images, Picwand Online Image Compressor will initiate the compression right away. All you have to do is sit back and wait for the compression to complete.
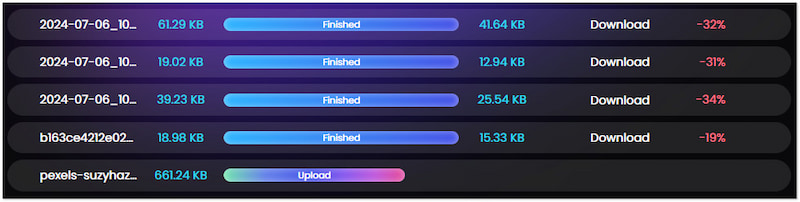
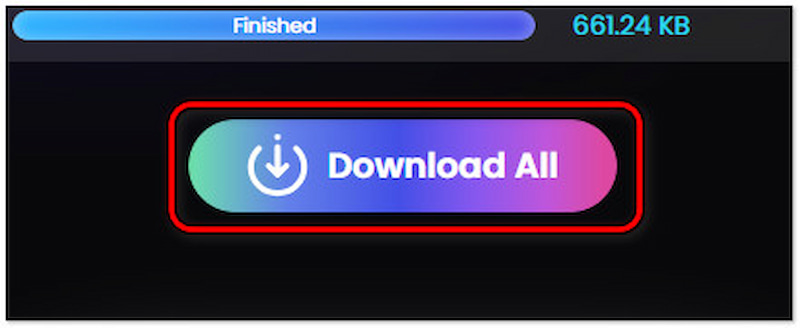
Step 4. Once the compression is complete, click the Download All button. A convenient zip file will be downloaded containing all the compressed files.
PicWand Online Image Compressor provides a reliable solution to compress images to 50KB or lower. Its smart AI technology effectively compresses your photos without sacrificing significant quality. Essentially, your uploaded files are automatically deleted from its servers after processing. This ensures your files remain secure.
Part 3. Lower Image Size Using Picwand Alternatives
Several tools stand out for their effectiveness when condensing images. In this section, we will look at some of the Picwand alternatives. Below, we will show you a breakdown of some available options, including their functionalities and features.
3.1 ILoveIMG
Overall Ratings: ⭐⭐⭐
First, let’s look at
Here’s how to make a photo less MB using ILoveIMG:
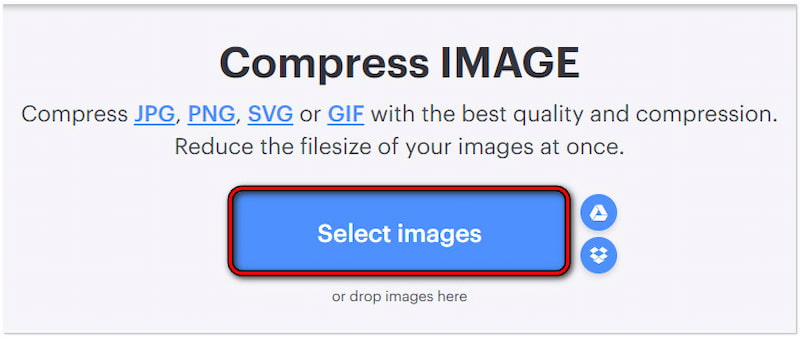
Step 1. On the ILoveIMG homepage, click Select Images to add the file you want to compress.
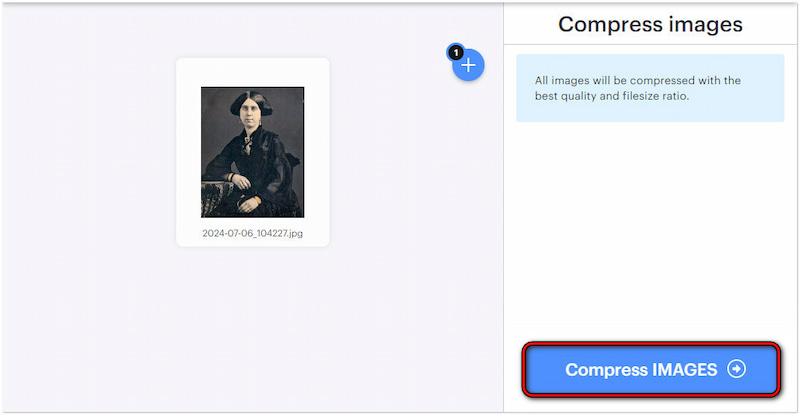
Step 2. Once the image is added, click Compress IMAGES to start the compression.
Step 3. ILoveIMG will process the image and download the compressed file afterward.
ILoveIMG provides an efficient process for making your photos less in MB. However, this tool significantly reduces the size, which affects the image’s overall quality. This results in the image becoming blurry and pixelated.
3.2 Optimizilla
Overall Ratings: ⭐⭐⭐
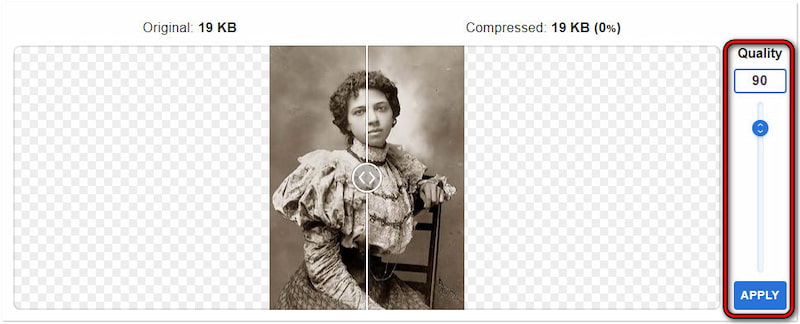
Next on our list is Optimizilla, a dedicated tool known for its ability to shrink image sizes. This tool supports JPEG, PNG, and GIF formats and compresses up to 20 image files. Optimizilla allows users to adjust the compression level, enabling them to achieve their desired size for their preferred use case. Now, a small heads-up. Advertisements are frequently displayed on screen, which can be distracting.
Here’s how to shrink file sizes using Optimizilla:
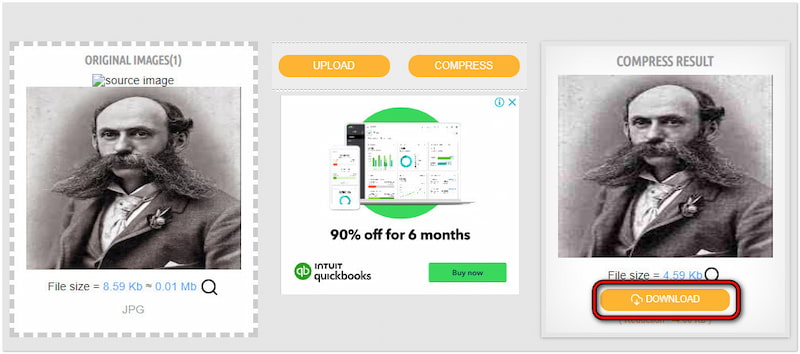
Step 1. Search for the Optimizilla Image Compressor website using a browser.
Step 2. Click UPLOAD FILES to select the files you want to shrink size.
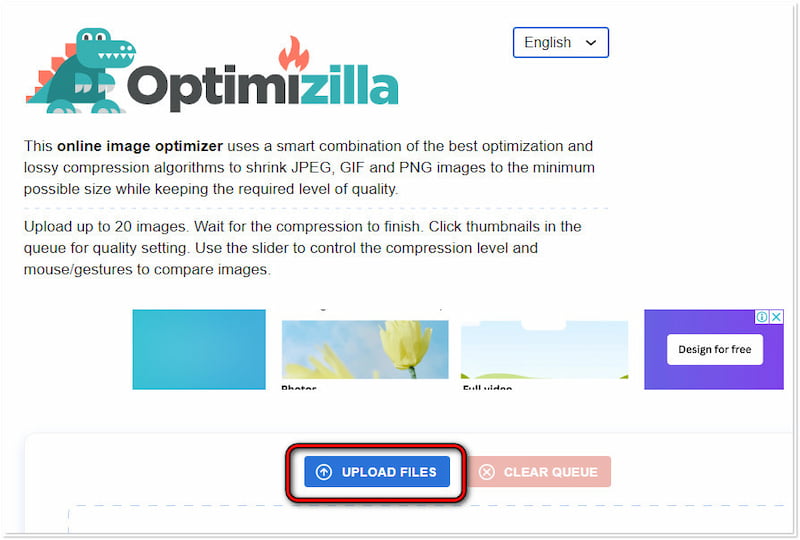
Step 3. Images will shrink automatically. If needed, adjust the compression level.
Step 4. Once satisfied, click the DOWNLOAD ALL button to save the shrunk files.
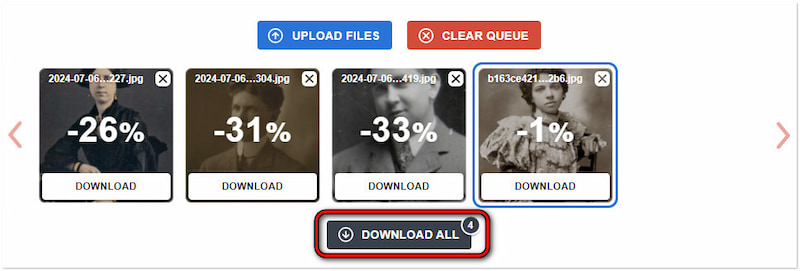
Optimizilla offers high-quality results with minimal loss of quality. For good measure, it displays the original and compressed file sizes, making it easy to see changes. But here’s a thing: The tool cannot handle larger file sizes, as it has limitations for uploaded images.
3.3 TinyPNG
Overall Ratings: ⭐⭐⭐
Moving on to our next tool, let’s have TinyPNG. This tool specializes in condensing PNG, JPEG, and WebP files. It uses smart lossy compression techniques to lessen the number of colors in the image, decreasing the file size while maintaining quality. TinyPNG is ideal for web use, as it reduces the bandwidth required to load images. But here’s the deal: Since TinyPNG uses lossy compression, some image data is discarded during the process.
Here’s how to condense image size with TinyPNG:
Step 1. Reach the official website of TinyPNG using a browser.
Step 2. Drop the images you want to condense in the upload area.
Step 3. Once the image optimization is complete, click Download all images.
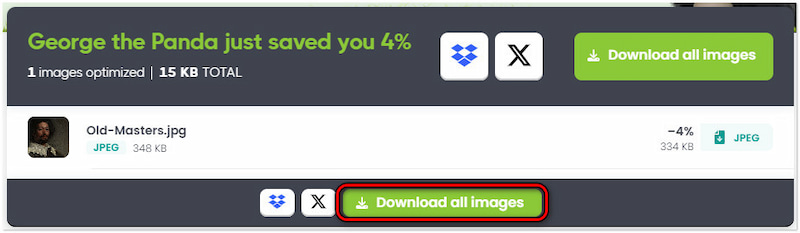
Tip: Upon clicking the button, a ZIP file containing all the condensed files will be downloaded on your local drive. Extract the ZIP file to see all the files you compressed earlier.
3.4 Compressnow
Overall Ratings: ⭐⭐⭐
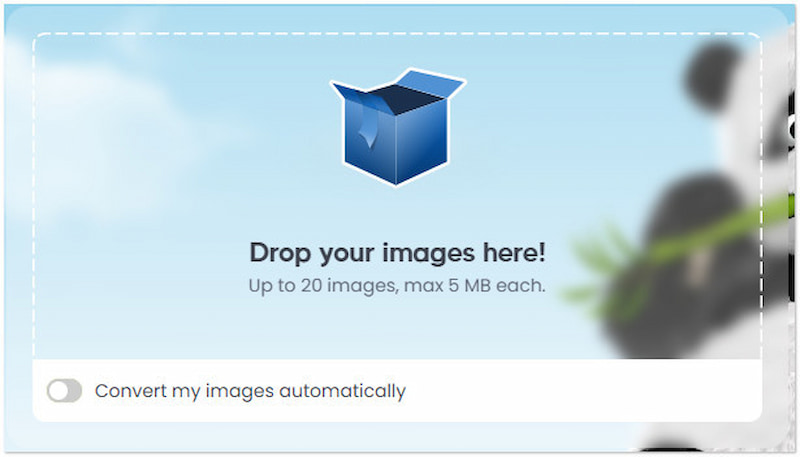
At this point, let’s explore Compressnow. It is a web-based image compressor that allows users to lower image size. It gives the user the option to configure the compression level according to their preference. It supports image formats, such as JPG, GIF, and PNG. Users can upload images with up to 9 MB size and select their preferred compression percentage using the slider. But there’s a condition. Users can only upload and possess ten images.
Here’s how to lower the size of an image with Compressnow:
Step 1. Direct yourself to Compressnow’s official website.
Step 2. Drop your images directly onto the designated upload box.

Step 3. Move the slider to your desired image quality and file size.

Step 4. Click Compress to apply the compression to your image.

Step 5. Click DOWNLOAD to save the compressed version of your image.
Compressnow offers a straightforward solution to reducing image size. Users can also choose their desired compression level according to their needs. However, there’s a tiny catch. Significantly reducing the size of images can affect their overall quality.
3.5 Photoshop
Overall Ratings: ⭐⭐⭐⭐
Now, let’s explore our last tool, Photoshop. It is an adaptable image editing solution that includes a powerful image compression feature. As a high-end tool, it offers extensive control over decreasing the size of images. It lets users save images in various formats, with options to adjust compression levels and quality settings. Now, a small heads-up: Photoshop is subscription-based software, and a free trial is not offered.
Here’s how to decrease the file size of an image in Photoshop:
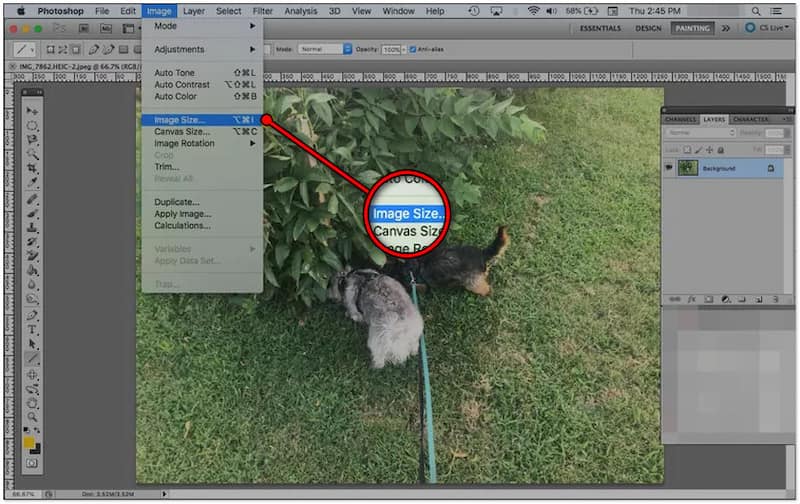
Step 1. Open the image you want to decrease size in Photoshop.
Step 2. Navigate to Image Size and adjust the values to your required size.
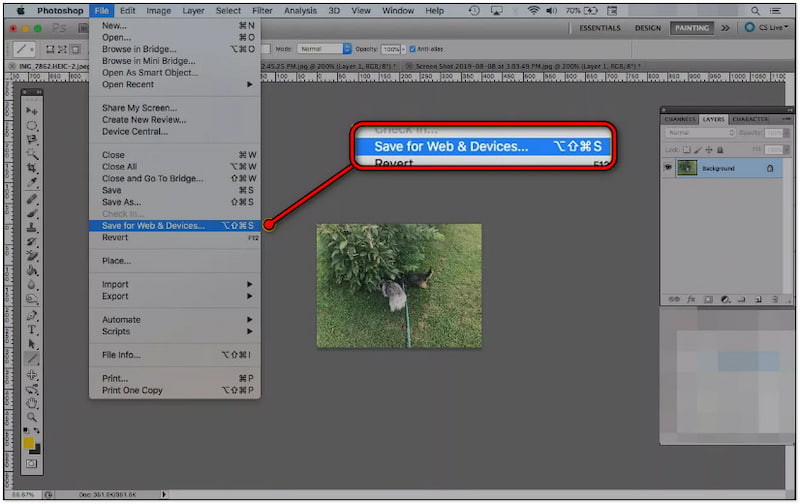
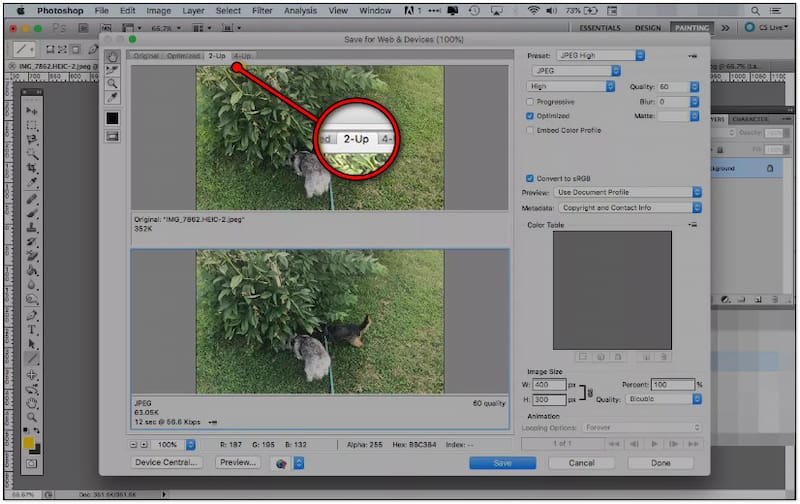
Step 3. Select Save for Web & Devices to compress and optimize the image.
Step 4. Select your preferred format and configure the necessary output settings.
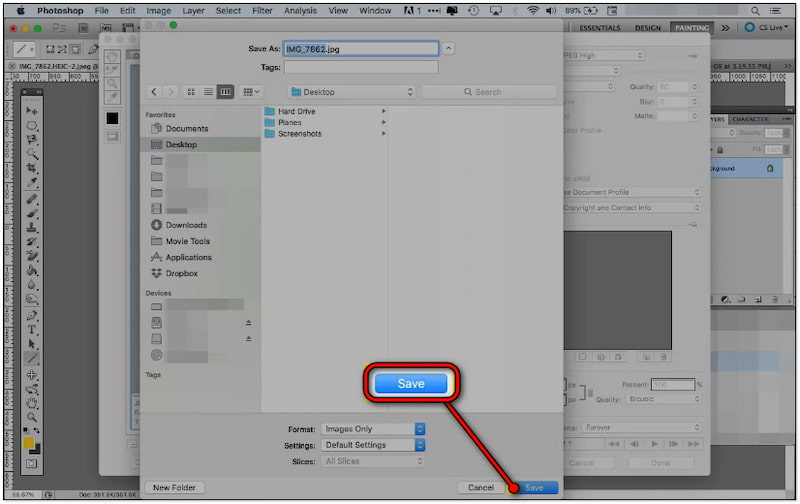
Step 5. Once you are satisfied with the compression settings, click the Save button.
That’s how to reduce file size in Photoshop. Please be informed that utilizing this tool requires extensive knowledge of photo editing. It might not be beneficial for beginners or those looking for a quick compression process. You may also want to check how to increase image resolution in Photoshop.
Part 4. FAQs about Compressing Image
Is resizing an image the same as compressing it?
In actuality, resizing is not the same as compressing an image. Resizing is the process of changing the image’s dimension, specifically the width and height. This reduces the file size by downsizing the number of pixels. On the other hand, compression decreases the file size by eliminating some of the redundant data. In other words, both techniques reduce file size.
How to reduce JPEG file size in Windows 10?
Many didn’t know that Windows 10’s built-in Photos app can reduce the size of JPEG files. Simply open the JPEG file in the Photos app and look for the three-dot option. Click it and select Resize Image in the context menu. Input the desired dimension value and move the slider for the quality. Then, click Save to apply the changes and save the resized JPEG to your local file.
How do I compress an image to 50KB?
You can use web-based image compression tools like Picwand to compress an image to 50KB. This tool allows you to optimize your image to 50KB or lower without loss of detail. Please refer to the instructional guide above for the detailed compression process using Picwand.
Summary
You are now equipped with the tools and techniques to compress images. Compressing images is an essential practice for those dealing with digital media. It offers several advantages, including improved website performance, efficient storage management, and faster sharing. Among the tools we present to you, Picwand Online Image Upscaler stands out for its ease of use and lossless quality. It allows you to optimize your images effectively, ensuring they are high-quality and efficiently sized for any use case.
AI Picwand - Anyone Can be A Magician